Fireplace DIY
For our very first blog post, I thought it would only be fitting to throw it way back to our very first DIY project! Before I get into the project itself, you need to know about the whole saga surrounding this fireplace to begin with.
When we were on the house hunt, our checklist was as follows: outdoor space, trees outside the windows, and, last but not least, a fireplace. I’m one of those people that loves to chill at home in the evenings with a glass of wine an a cozy fire going so when we found our condo with a large rooftop patio and a fireplace, I was SOLD. So sold, in fact, that I didn’t think to turn the fireplace on before signing on the dotted line. Fast forward to move in day and it’s raining like crazy (we’re Californians so please take my description with a grain of salt), so I, being extremely excited to finally have a cozy fireplace at my disposal, turned it on. I’m not even exaggerating when I tell you that it was the saddest little blue flame I’ve ever seen. It made our kitchen stove look like an actual bonfire by comparison.
We later came to find out that not only was this something that couldn’t be fixed, but it was actually a full-on fire-hazard with the way the building was constructed and every unit’s fireplace had to be shut off and rendered useless. So, for anyone wondering why we went with an electric insert instead of a traditional gas fireplace, THIS IS WHY. While I was initially super disappointed by the fireplace drama, I’m so in love with what we were able to do with it that it’s become one of my most favorite parts of the house.
Now onto the details!
When we started this project, we knew we wanted to go with something neutral and timeless. This isn’t our forever home, so we wanted to make the space appealing to our future renters as well! We went with this simple stone herringbone tile from Lowes. It’s affordable, classic, and a pain in the ASS to install and cut. Luckily for me **wink wink**, David and my brother Vince did most of the heavy lifting while I focused on the design and the overall look.
Here’s a look at the progression!
As it turned out, not only was our previous fireplace non-functional, it was also off center!
We ended up tailoring the opening to fit the new insert and ensure that it would be centered on the wall. To do this, we cut a 2x4 down to size and used it as our framework for the drywall. After adding the drywall, we then installed the tile, marble pencil liner, & finished it off with white grout for a clean, modern look.
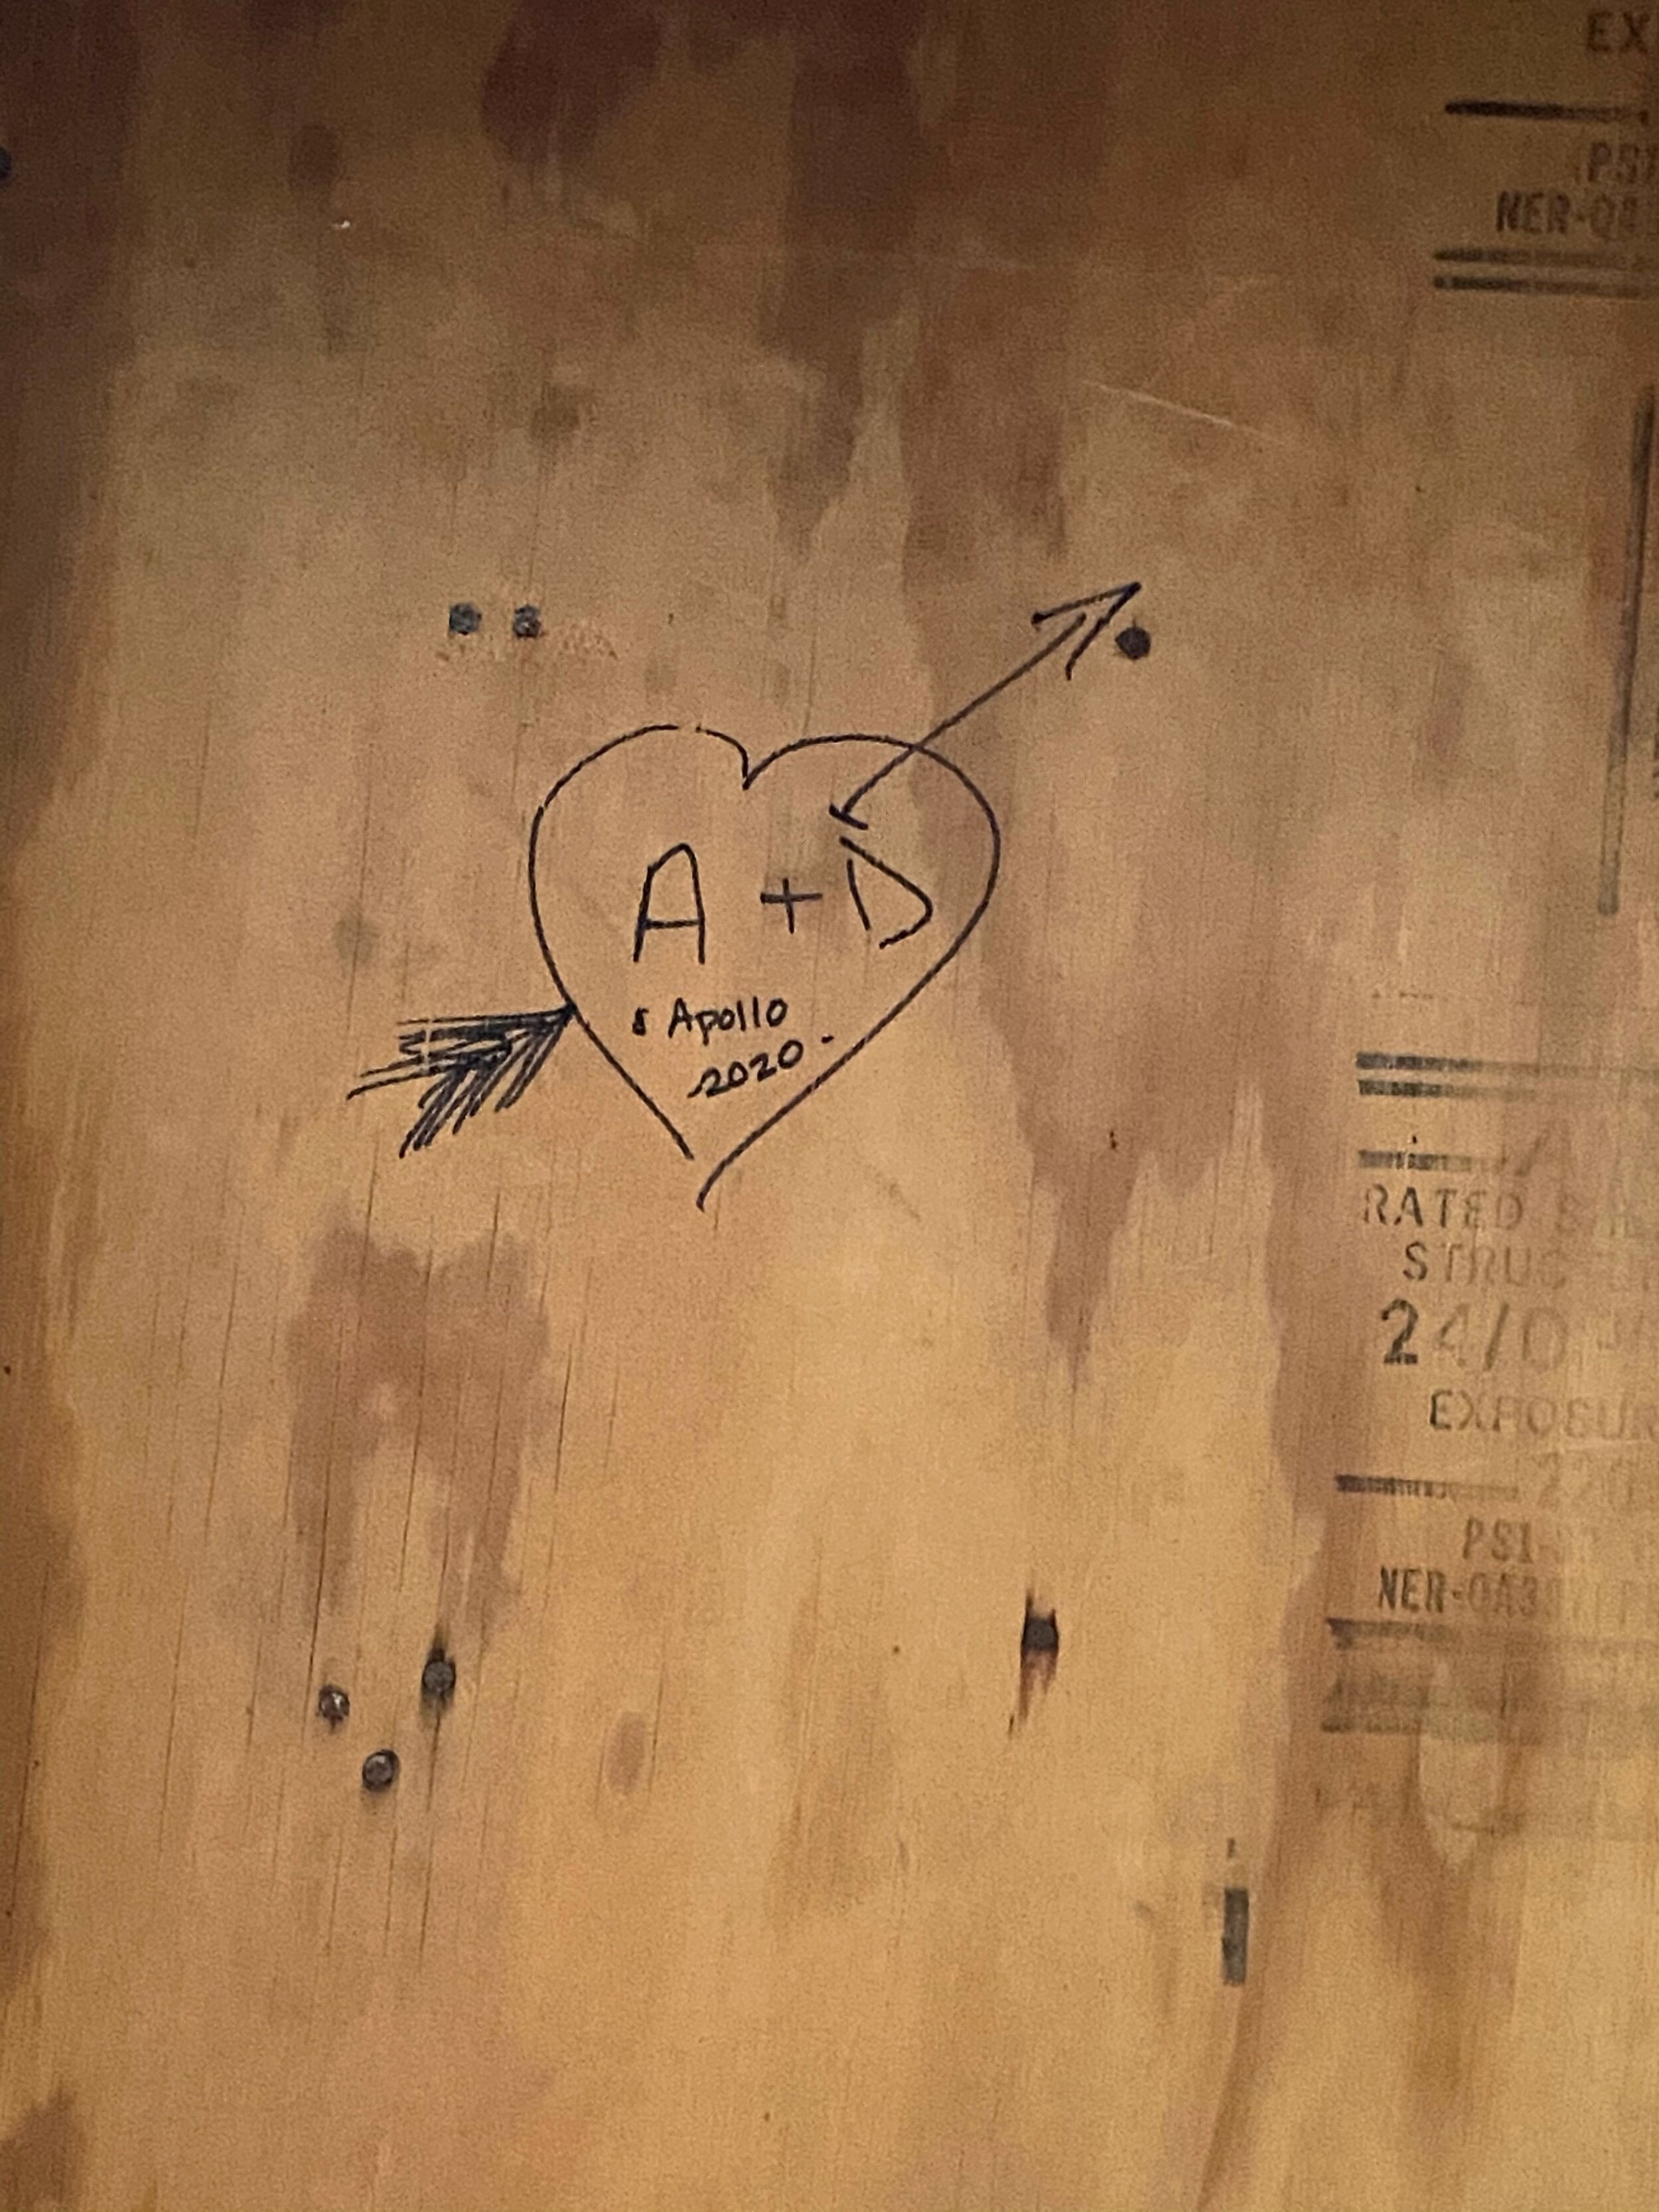
We, OBVIOUSLY, had to include a little something in the wall to add to the history of the home.
Now onto the insert! We LOVE our PuraFlame insert. The best part? It was only $349! It has several flame settings, has a heat function, and even makes optional crackling sounds, if you’re into that. It’s one of the most realistic electric fireplaces that we’ve seen, ESPECIALLY in this price range.
It gives me ALL the cozy vibes that I wanted all along, without the fire hazard.
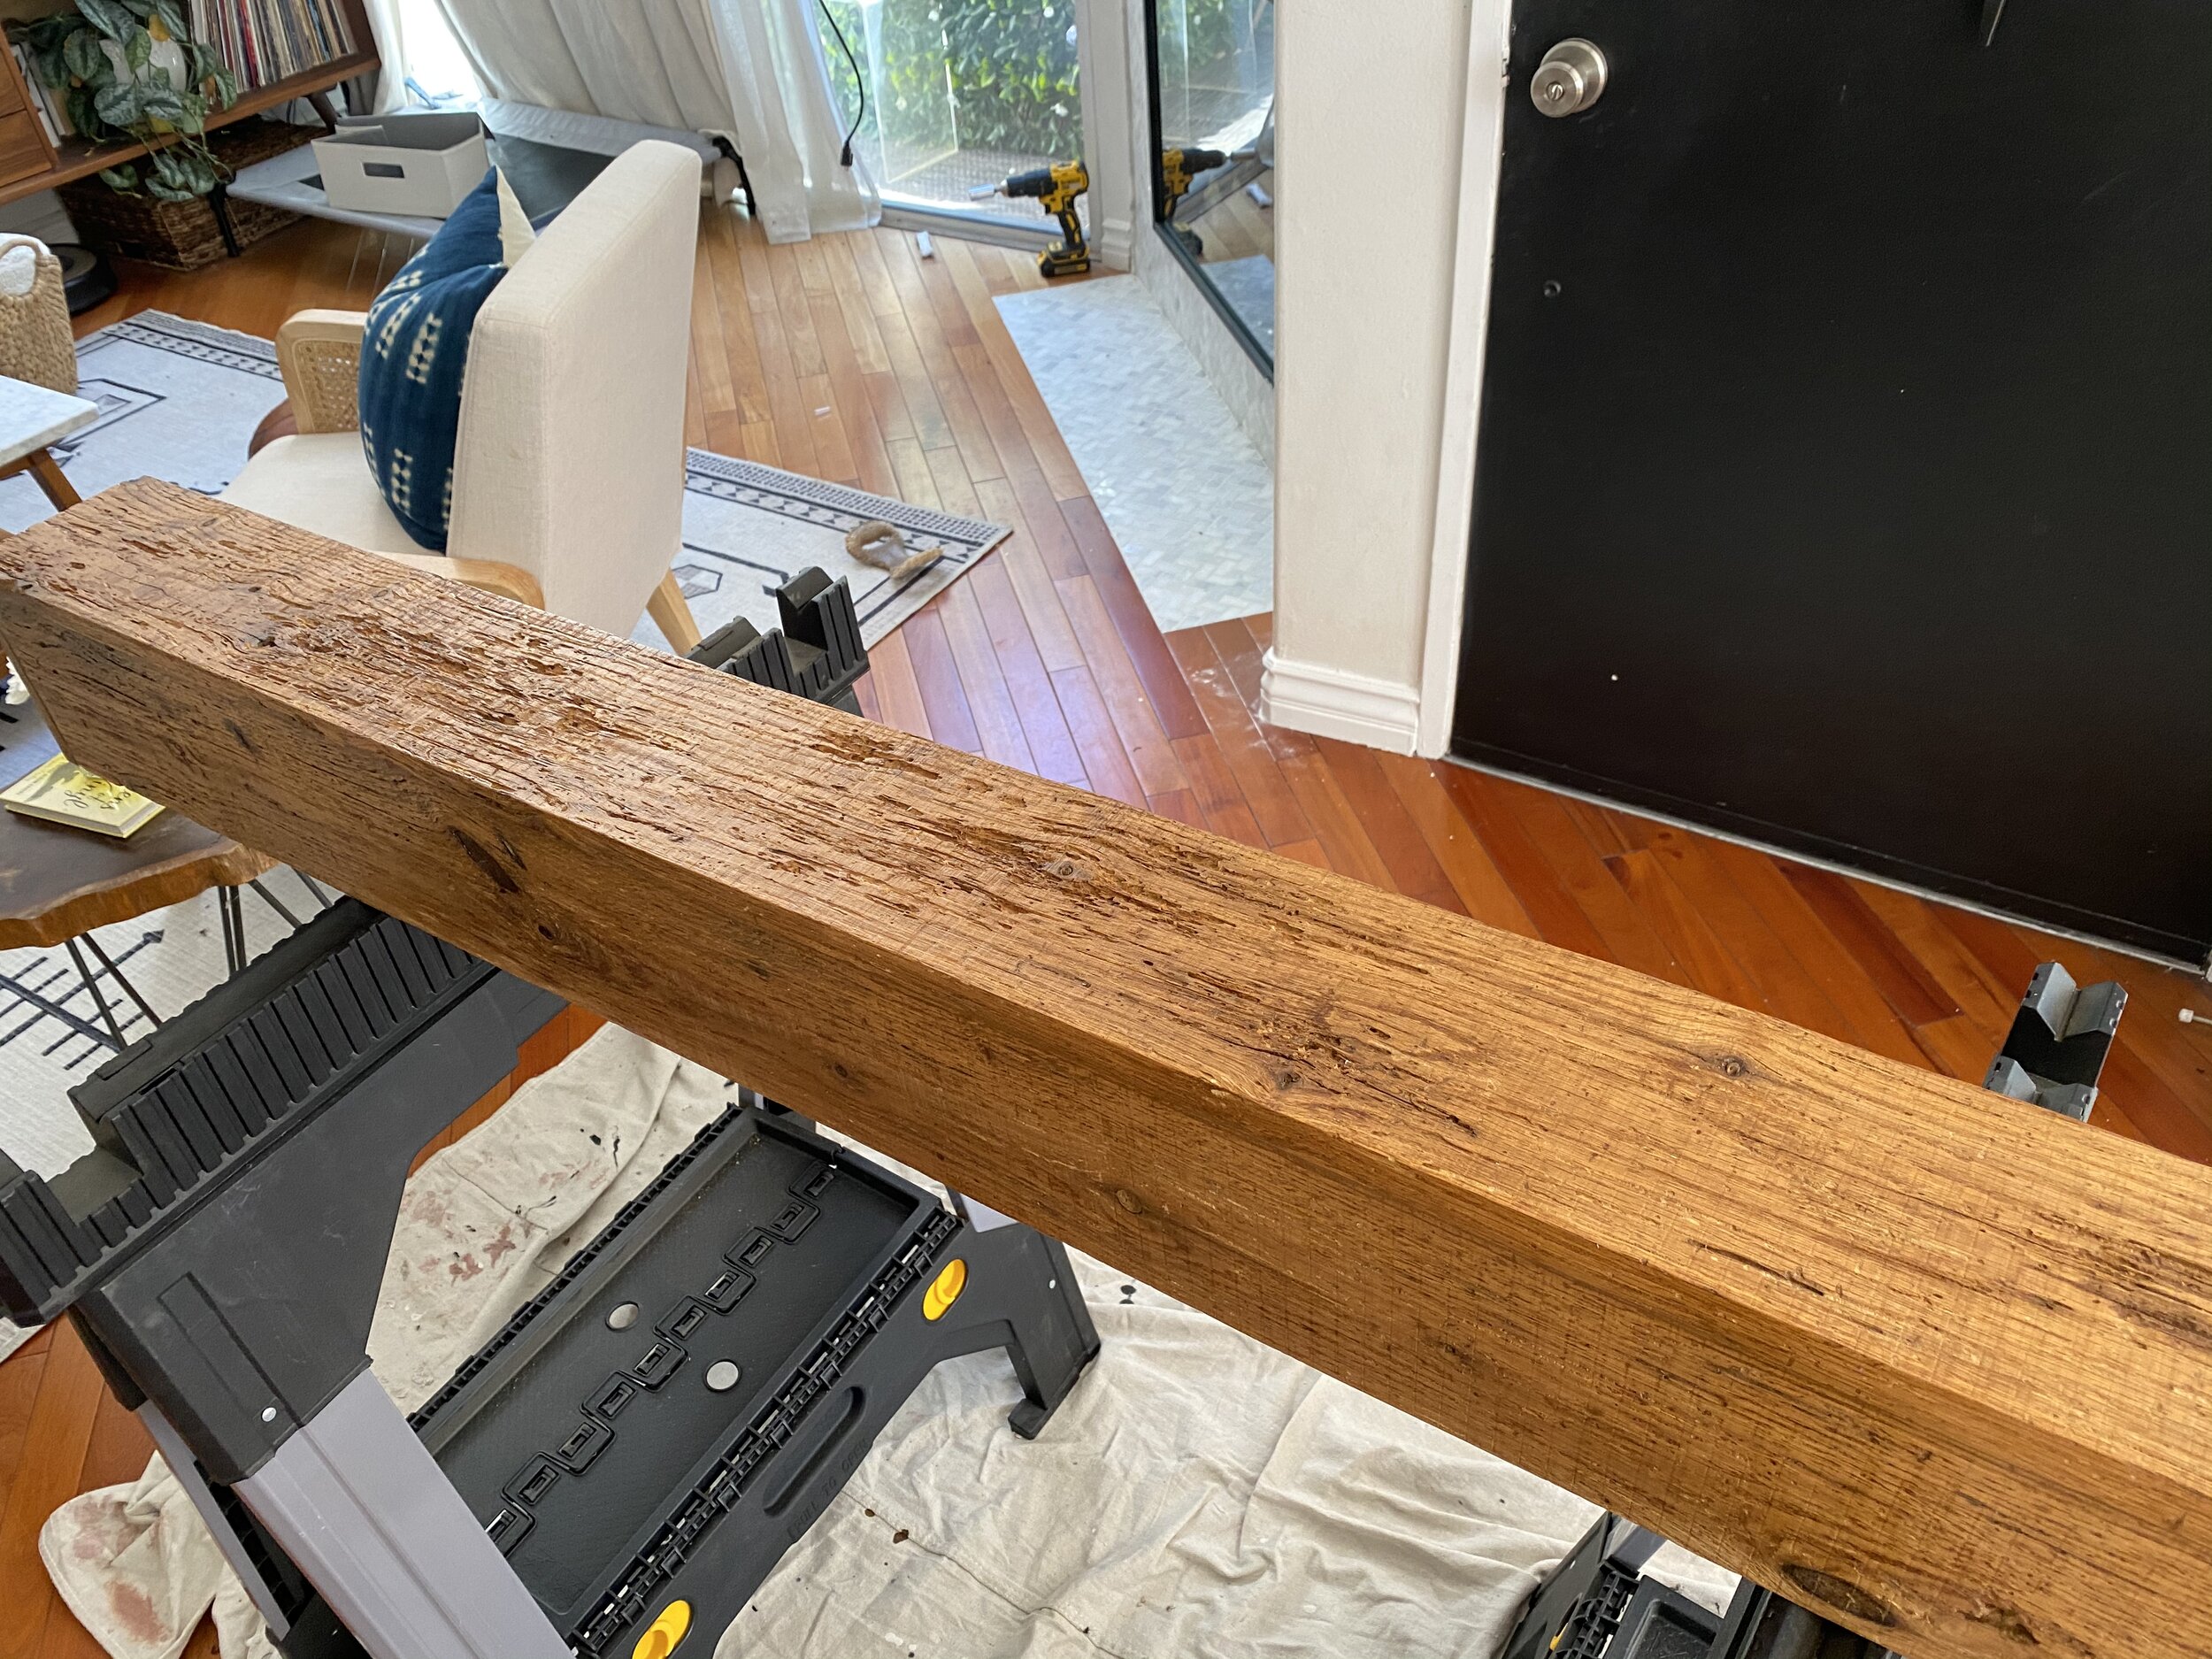
For the mantel, we wanted a unique, one-of-a-kind piece, so we went to Ross Alan Reclaimed Lumber in North Hollywood. They have an incredible selection of reclaimed wood and we absolutely loved shopping with them. After a bit of back and forth, we found the perfect pieces to bring home and start the project (we’ll do a separate post on this later with a full tutorial of how to make your own fireplace mantel)! Once the mantel was completed, we finished it off with a rich warm “Puritan Pine” stain by Minwax.
And that’s how we went from this to this!
We hope you enjoyed this inside peek into our first DIY project!
If you have any questions, feel free to leave a comment and we’ll get back to you ASAP!


